Four Steps to Roof Repair in Freeport That Lasts
Coastal repairs fail when a roofer uses inland parts. Plain steel nails and thin aluminum rust out in a few seasons near the water. Here are the four steps we follow on every Freeport roof, built around salt, wind and storm claims. Each one exists because skipping it fails on the South Shore.
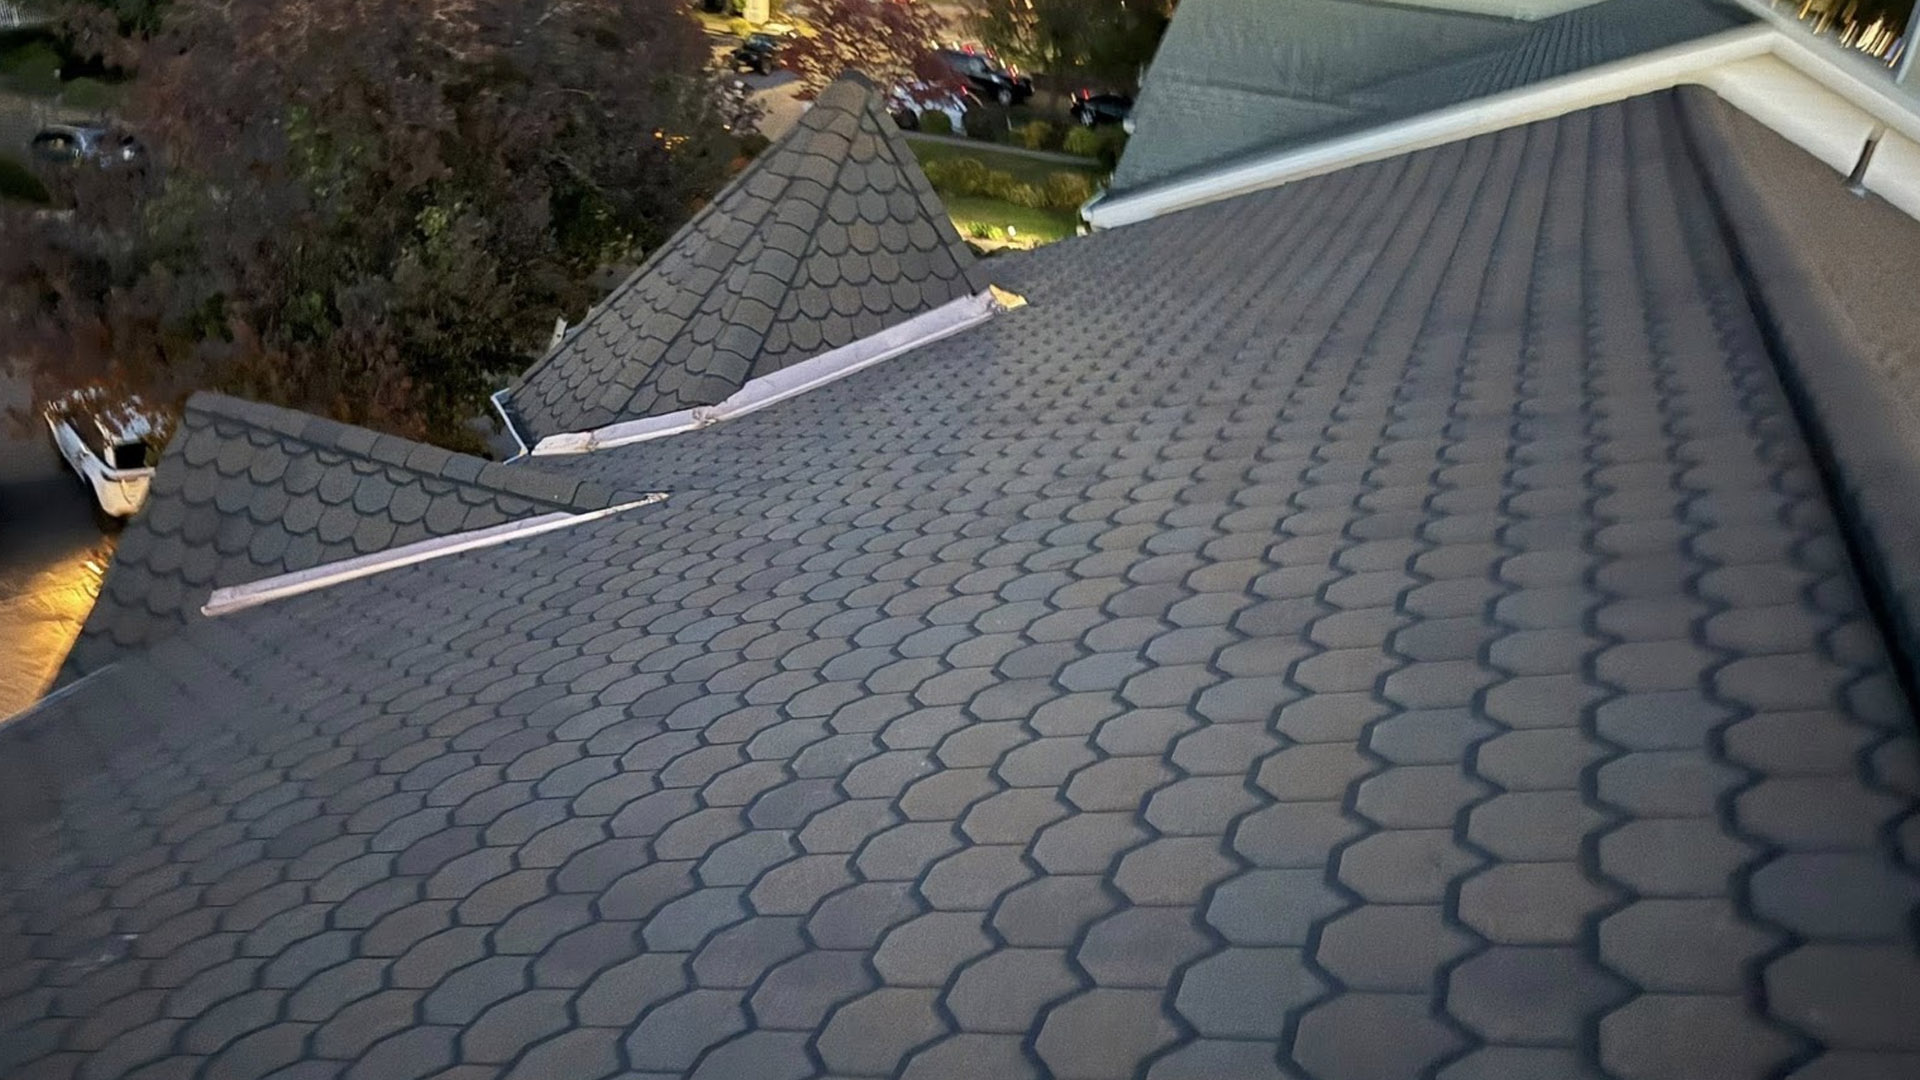
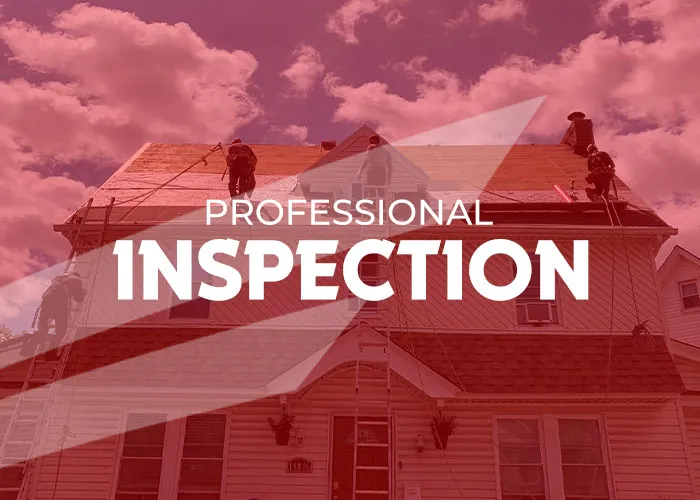
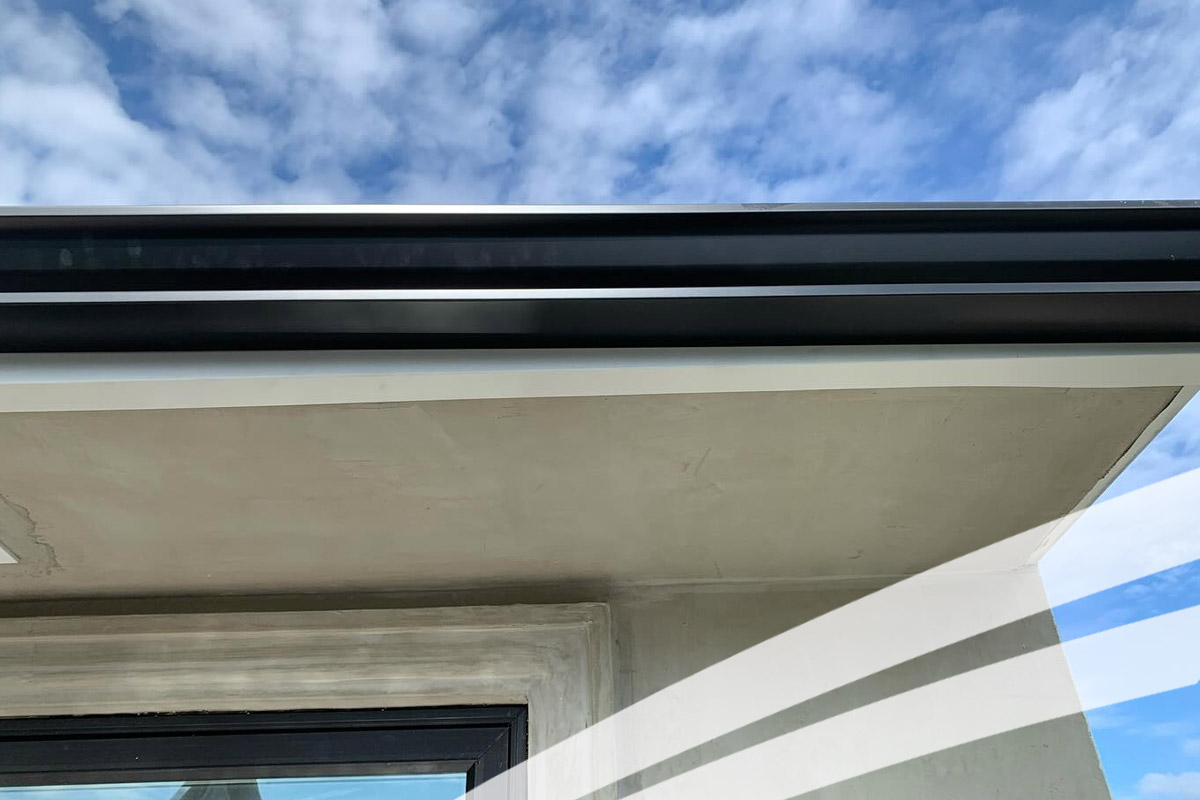
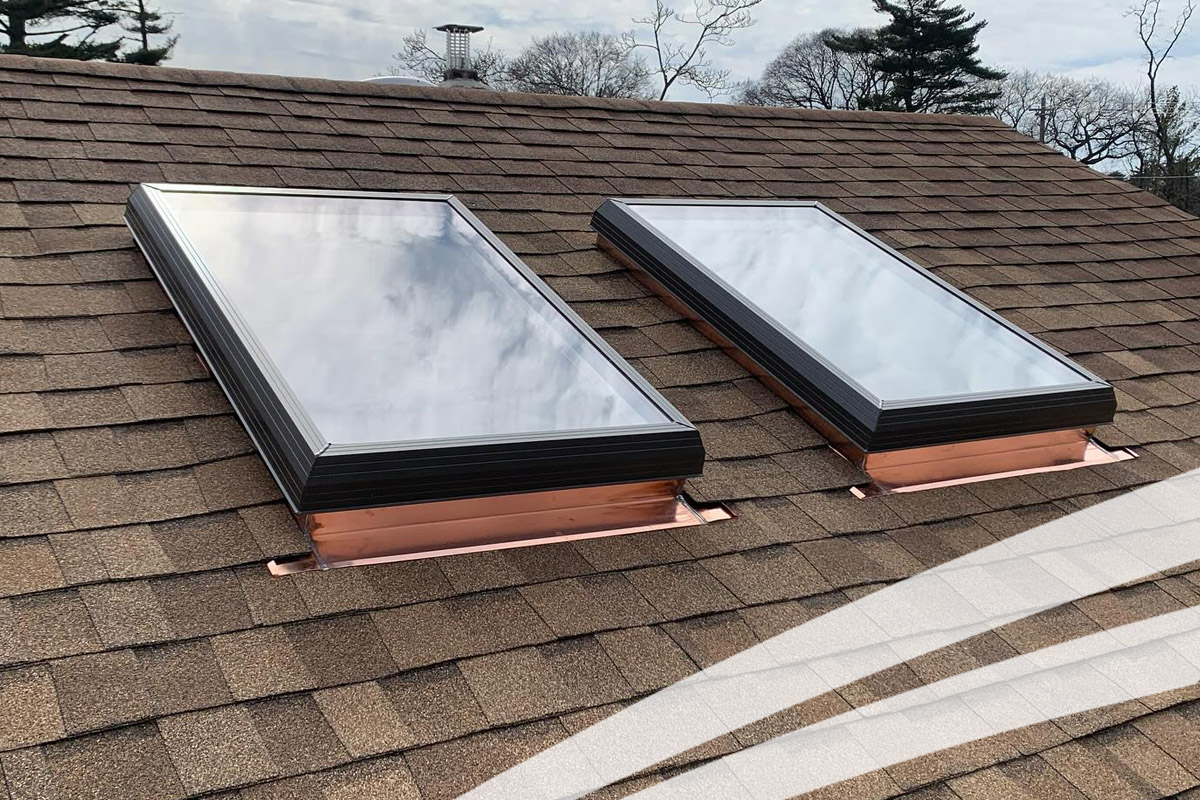
We start at the edges. Drip edge, step flashing, counterflashing, vent collars and chimney metal all get checked for rust and pitting. On canal homes we pull a few nails too, since rusted heads let shingles lift in the next hard wind off the bay.
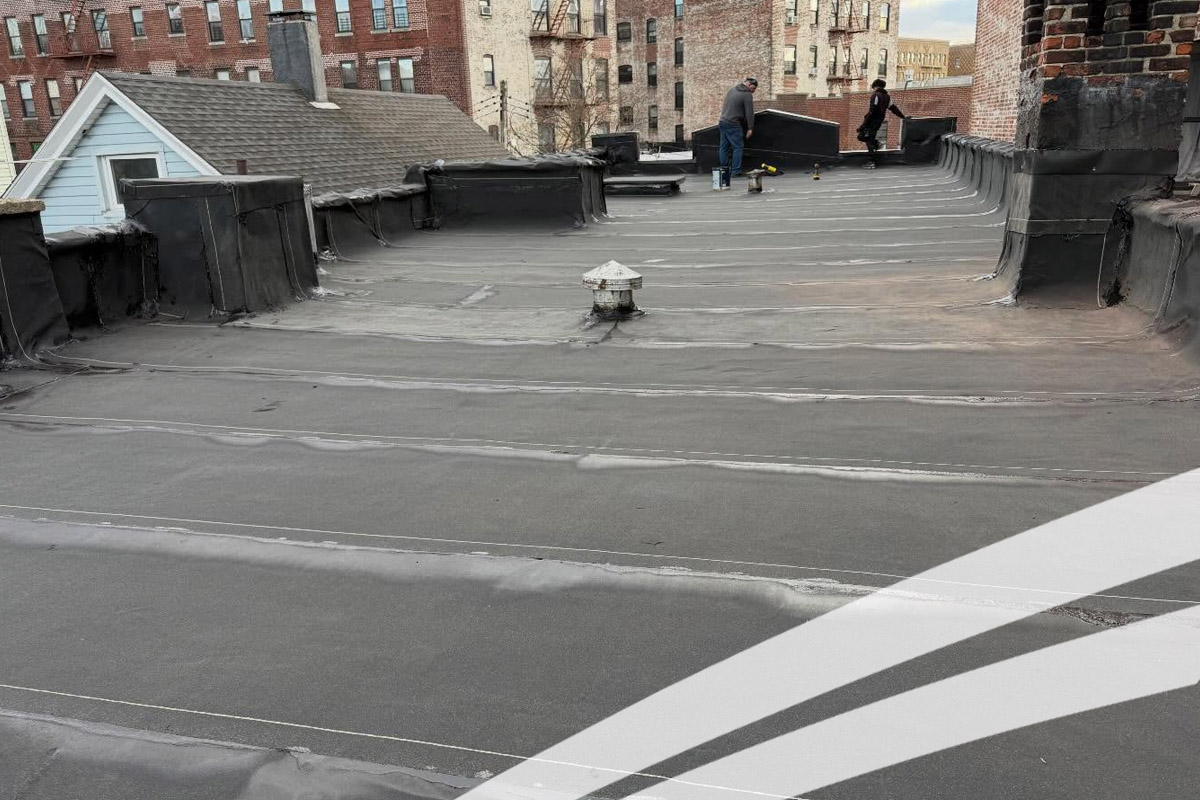
Then we photo every damaged spot with dates and notes. If a storm caused it, you get a clear report to share with your insurance adjuster, showing wind lift, torn shingles, dented metal and every water entry point we find inside.
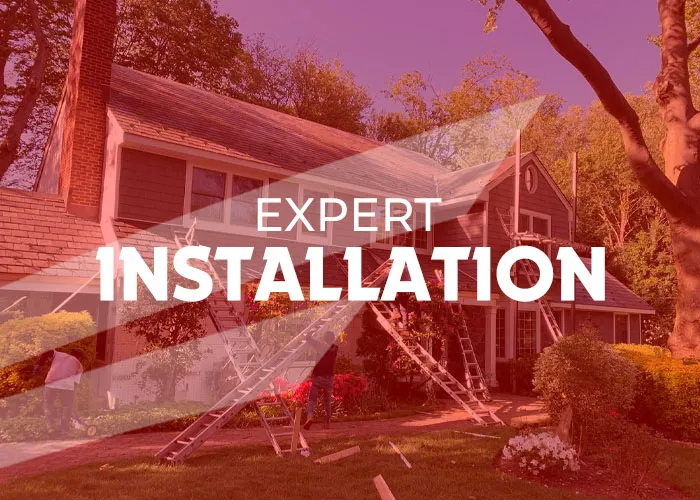
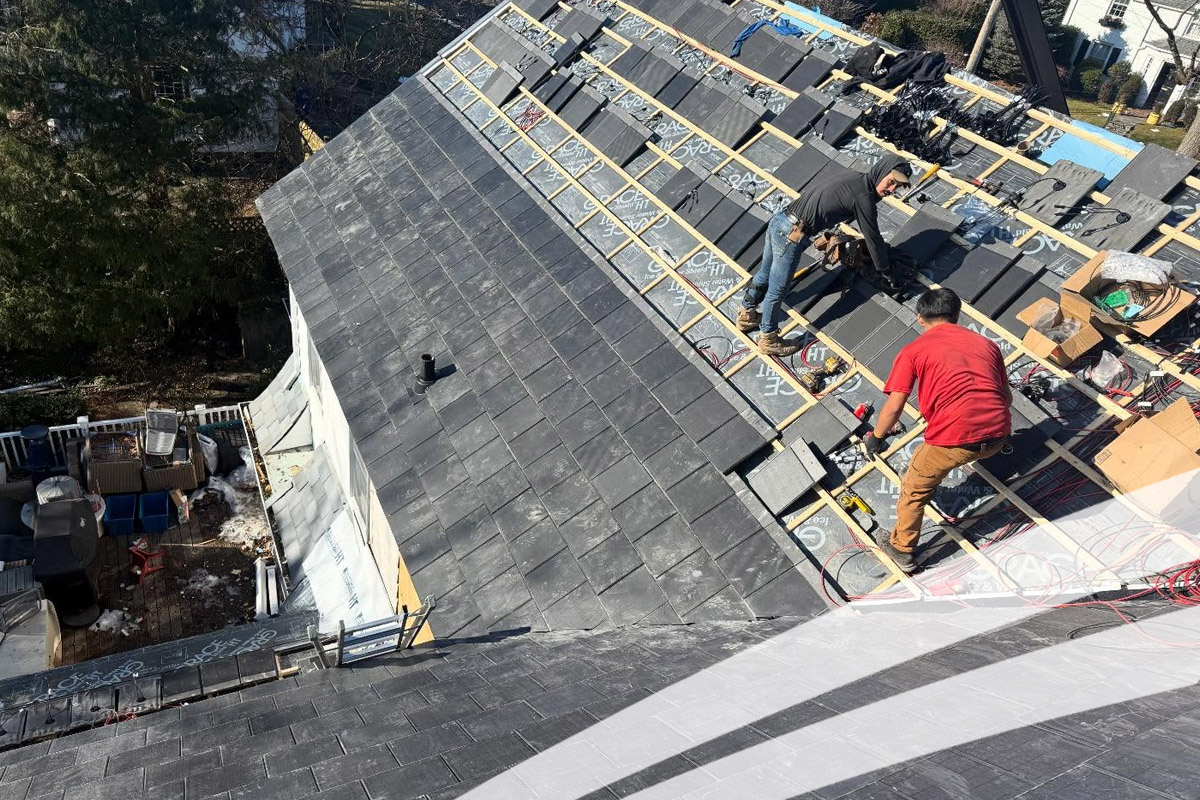
After that the crew makes the repair with stainless or hot-dipped galvanized nails, heavier flashing and sealed drip edge. Ice and water shield goes along eaves and rakes, where wind drives rain under the first course.
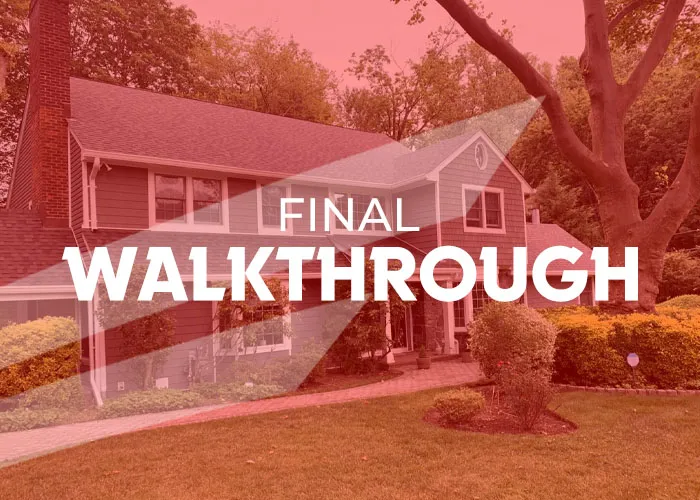
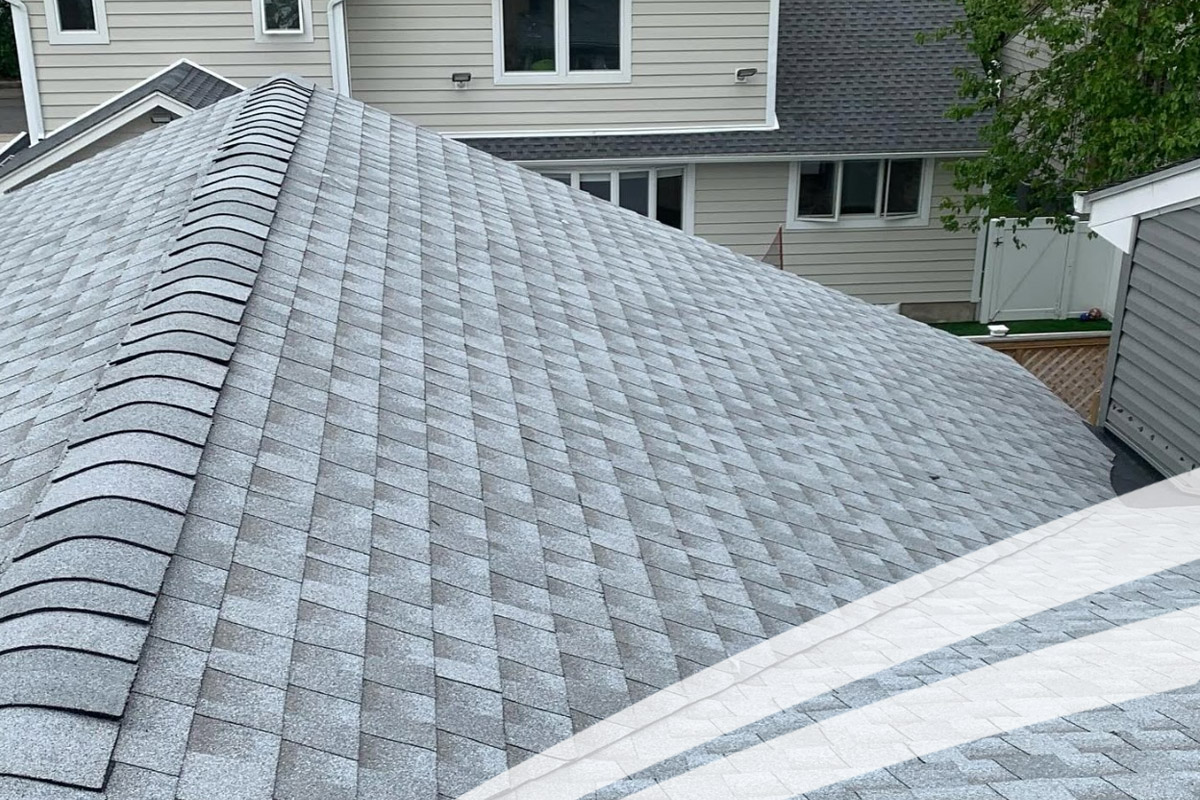
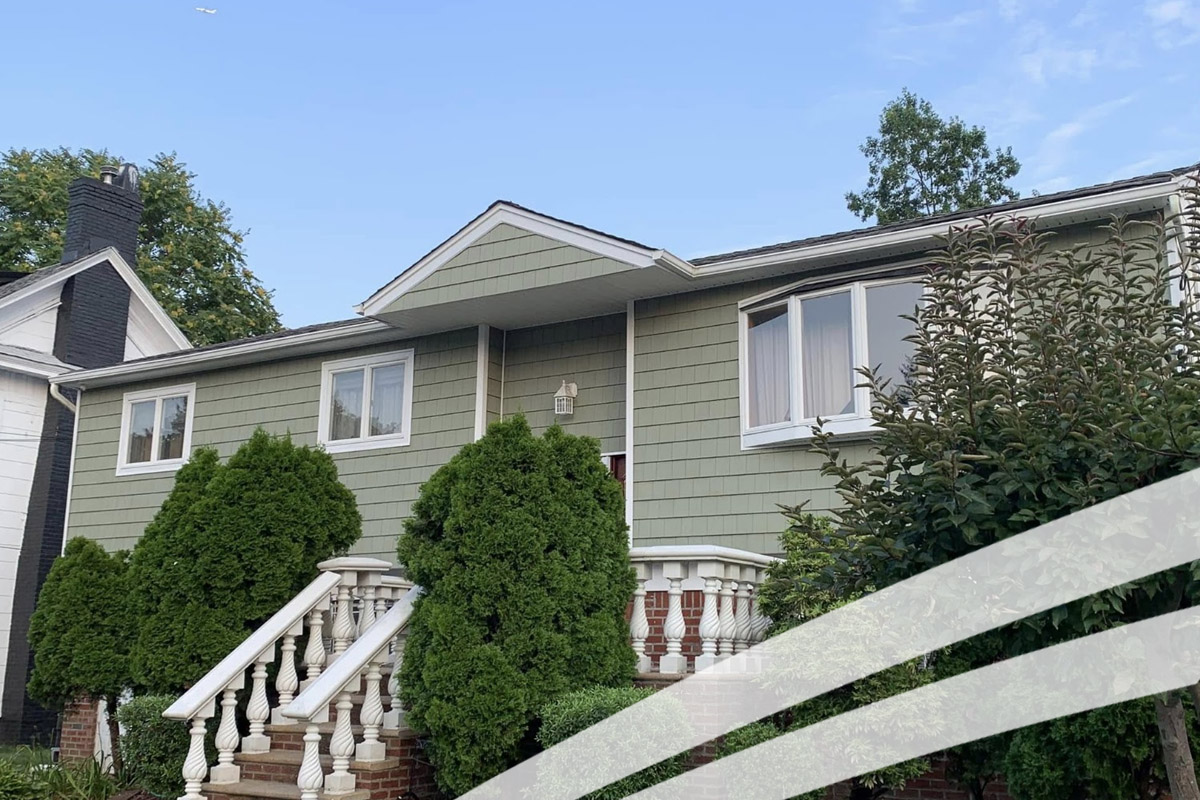
Raised homes sit high, so ladders and fall protection get set with care, and debris stays out of the canals and the neighbors' yards. Last, you walk the finished job with us and get a full set of before and after photos.