


Four Steps to Roof Repair in New Hyde Park
Roof-to-wall leaks are tricky because water runs sideways and down before you see it. A stain in the living room can start at a kickout ten feet away. Here is how we track it down and fix it so it stays dry. The same four steps apply after a nor’easter, when wind-driven rain tests every wall joint at once, and they guide storm damage roof repair in New Hyde Park too.
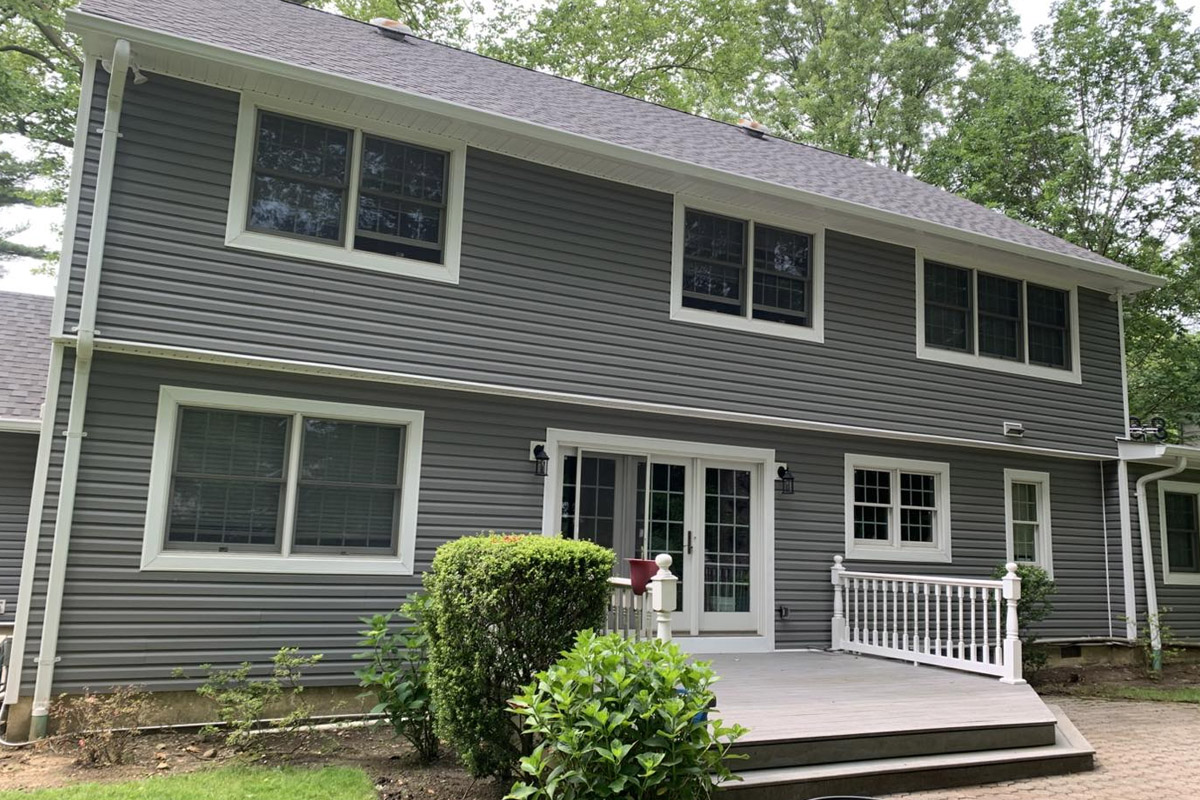
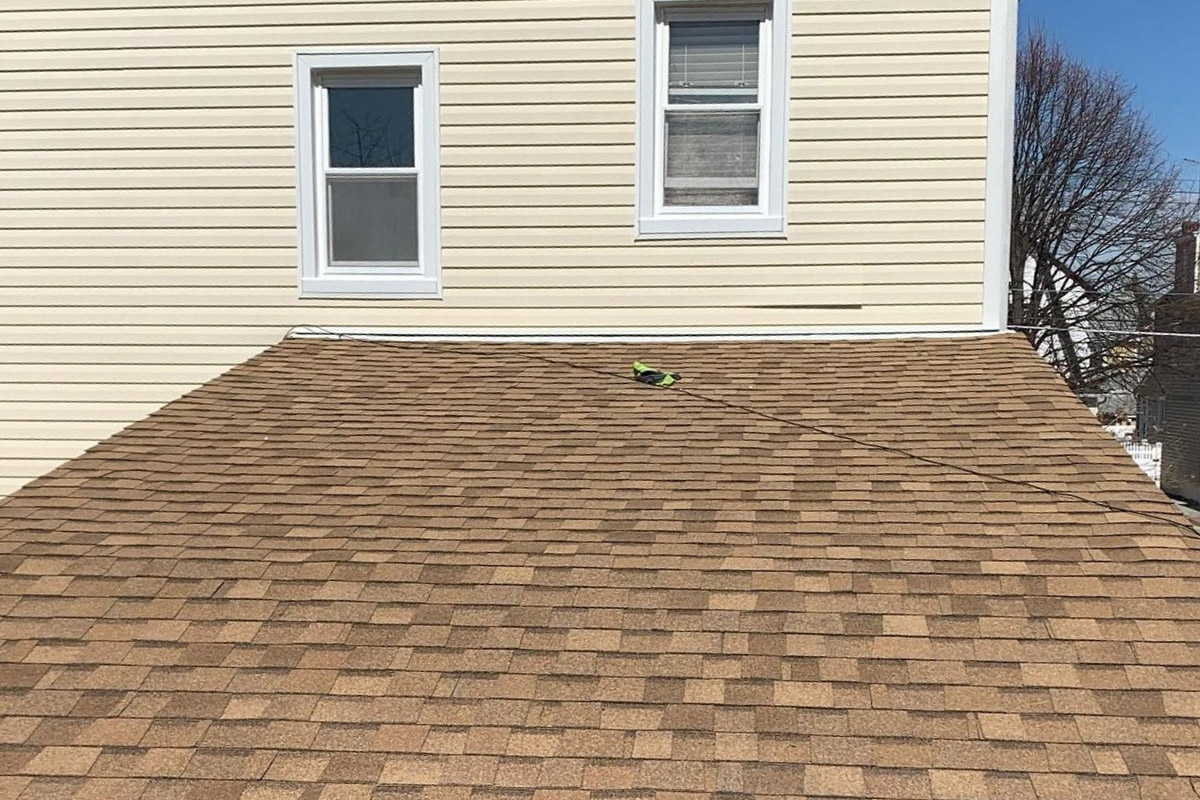
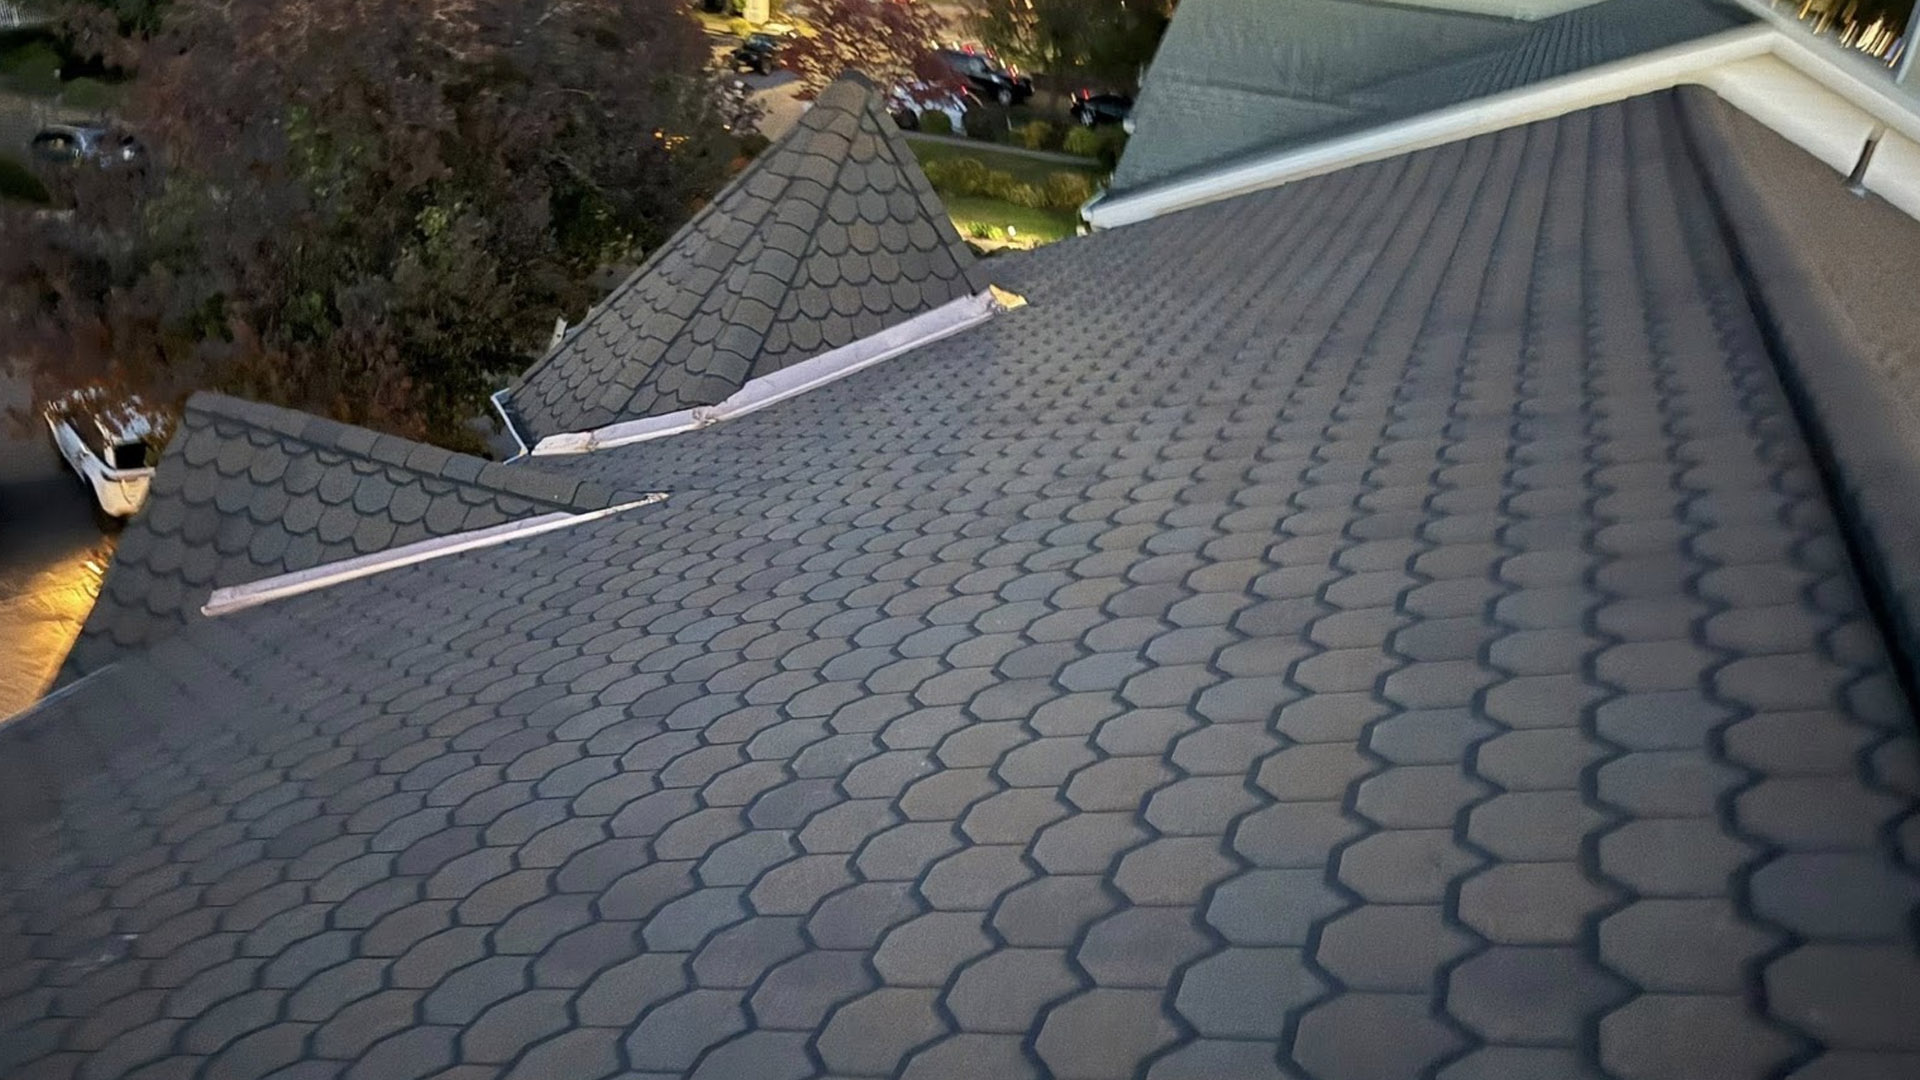
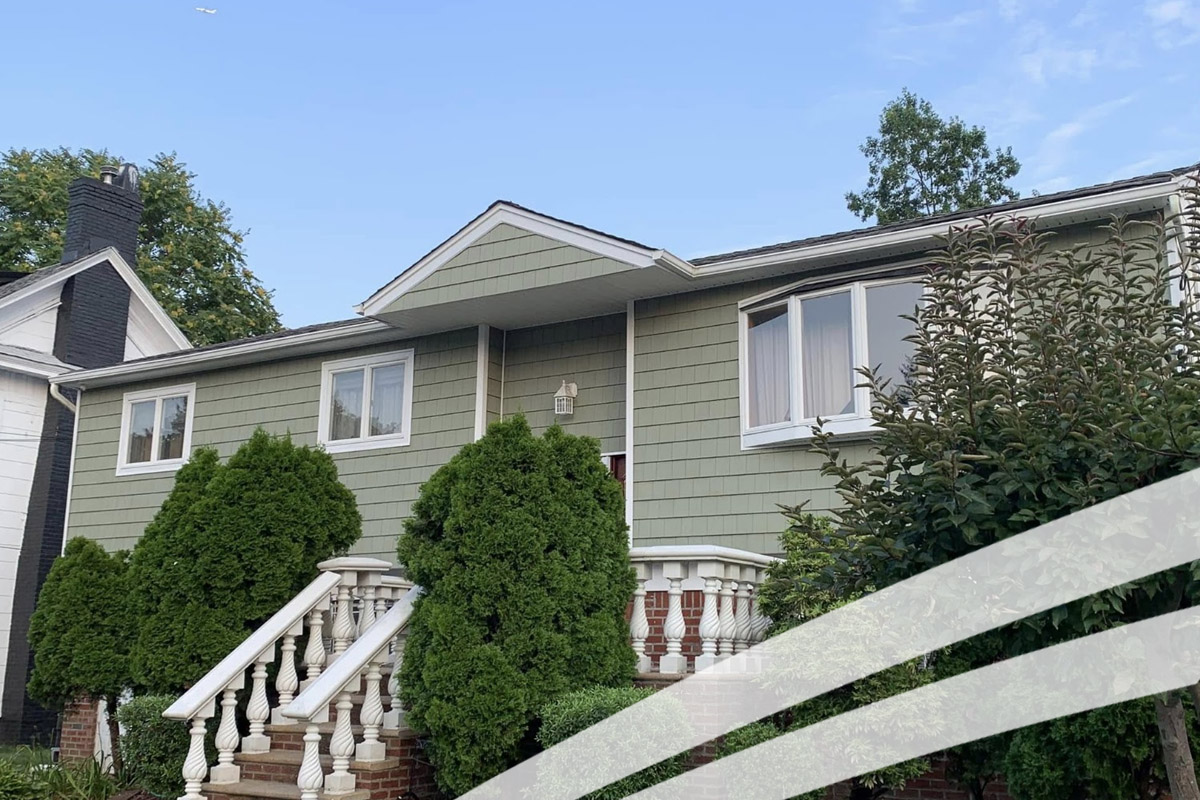
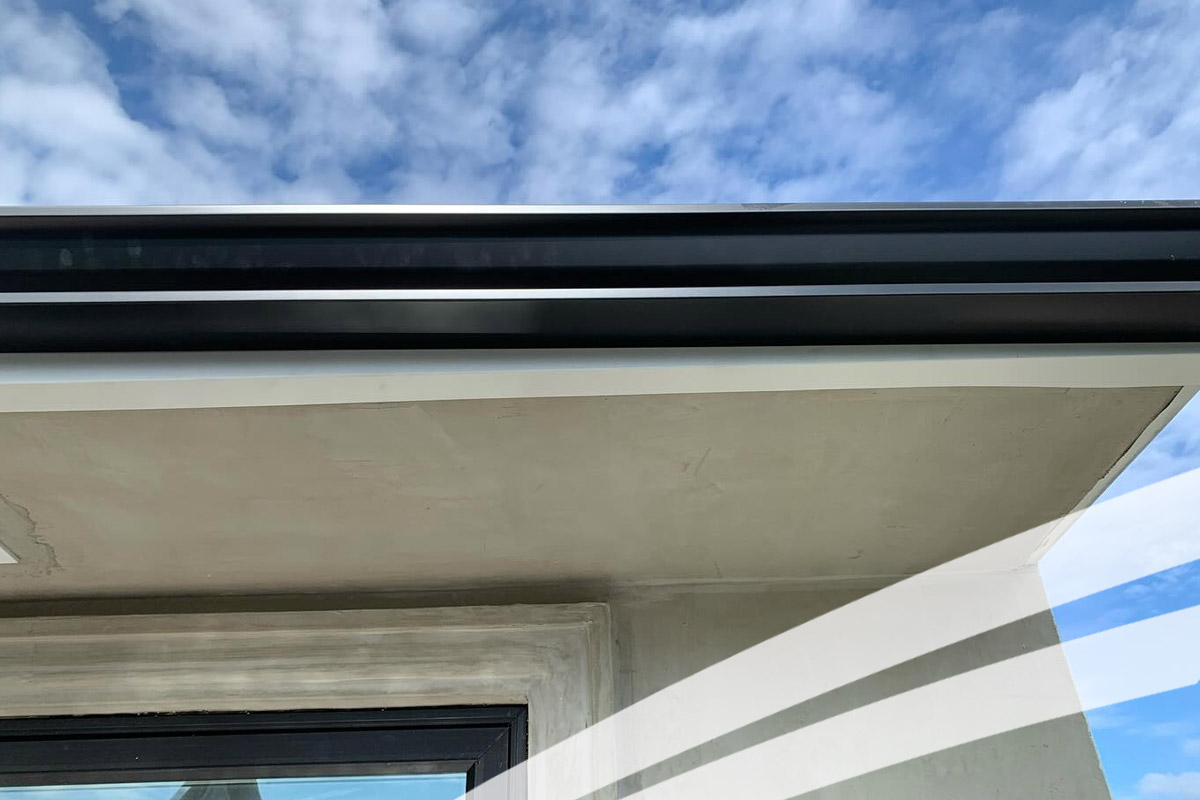
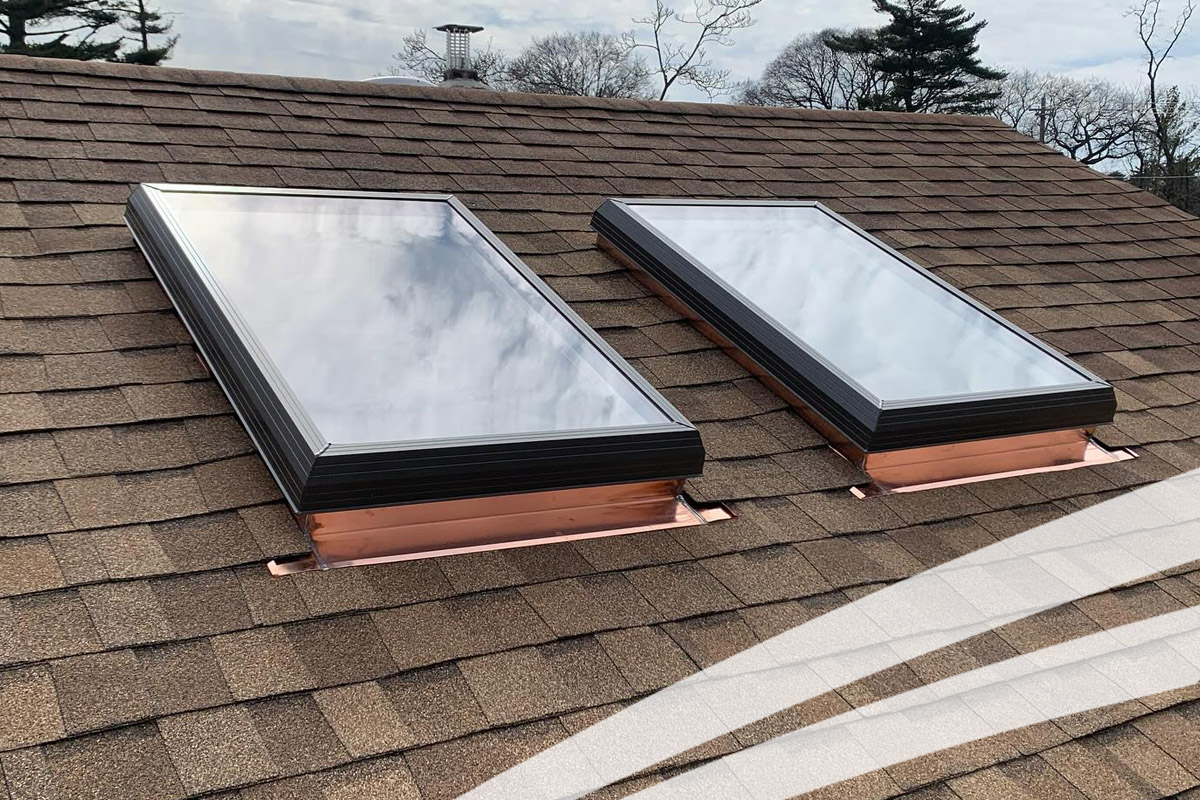
We start outside at each sidewall, dormer cheek and chimney. We look for step flashing, a kickout at the bottom of each wall and siding that sits too tight to the shingles. Then the crew checks skylight frames and pipe boots. On high ranches, the low-pitch slopes get a close look for lifted tabs, and the eaves for signs of ice backup, like stained fascia or rusted nail heads.
Then we go inside with a moisture meter. We check the wall below each joint, the ceiling near skylights and the attic over the addition. Swollen trim, peeling paint and soft drywall show us where the water travels. In the attic, dark stains on the rafters and rusty nail tips tell us whether the leak is new or has been running for a while.
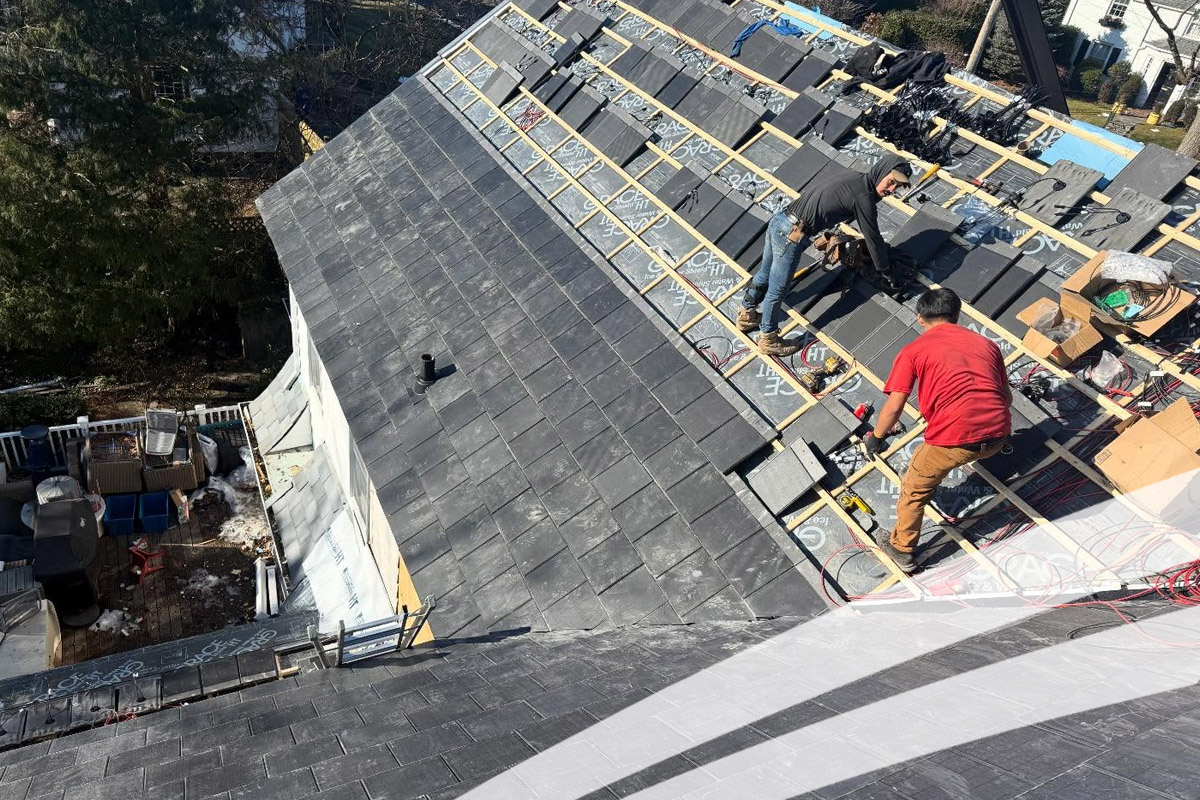
Next we remove the siding along the joint, set new step flashing one piece per shingle course and add a kickout where it is missing. Wet sheathing is cut out, the wall is wrapped and the siding goes back over the flashing with a clean gap above the shingles. This is the heart of Roof Repair in New Hyde Park on an expanded home, and it is the part a quick patch skips.
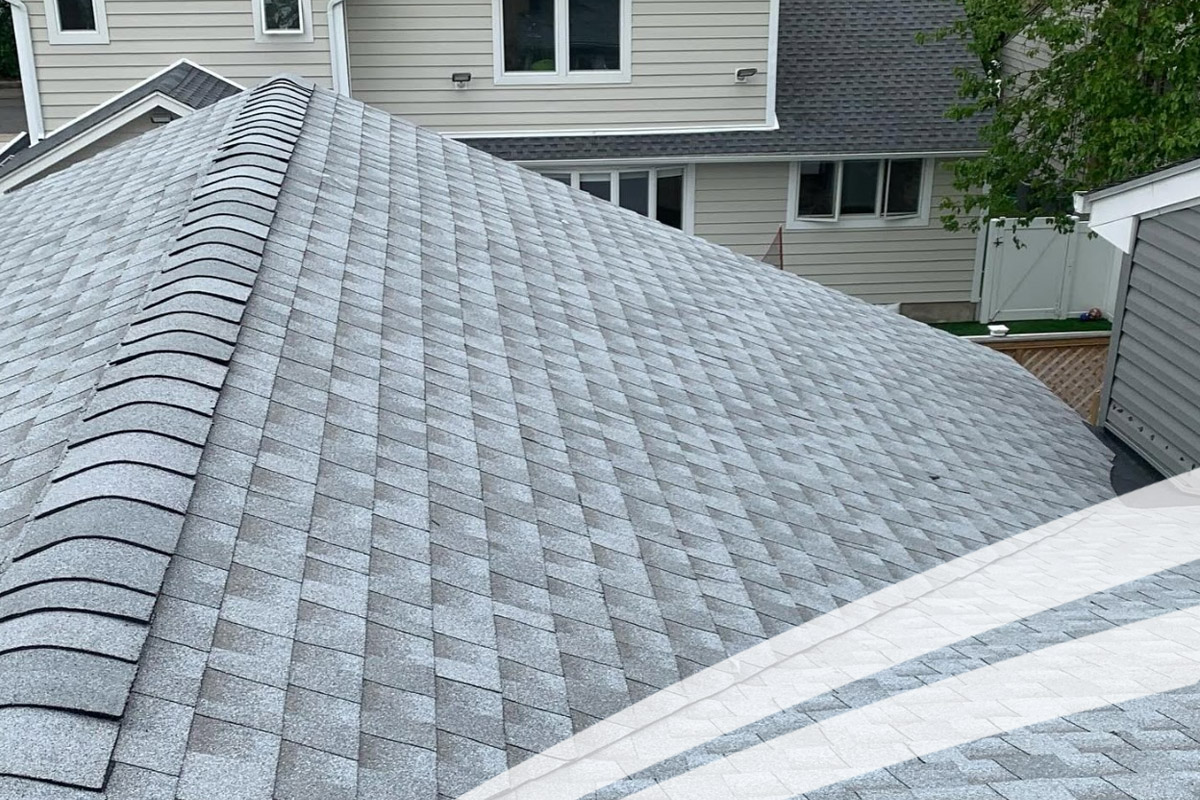
Last, we run a hose over the repaired area to prove it stays dry, then walk you through the before and after photos. You see each new piece of flashing and get notes on what to watch after the next heavy rain. If a ceiling or wall inside got wet, you learn when it is dry enough to patch and paint, so nobody paints over damp drywall.