

7 Steps of Roof Repair in Oceanside We Never Skip
Most roof problems start in places you cannot see from the ground. So this process checks every layer: the shingles and seal strips, the flashing, the penetrations, the underlayment and the deck. Roof leak repair in Oceanside is only as good as the inspection behind it. Some steps take ten minutes and some take an afternoon. Here is how Roof Repair in Oceanside goes, one step at a time.
We start by asking how old the roof is, what work was done on it after Sandy and when the leaks began. Any paperwork, permits or photos you kept help date the materials and show what was replaced and what was not. If you have a leak right now, put a bucket under it, move anything valuable and take a dated photo of the stain. That record helps both the repair and any claim.
Then we go up into the attic with a light and a moisture meter. Dark stains, rusty nail tips and soft plywood show where water has been getting in, often far from where the ceiling stain shows up below. Daylight around the chimney and vents gets noted, and the soffit and ridge vents get checked for airflow. A wet, stuffy attic speeds up deck rot on any roof, old or new.
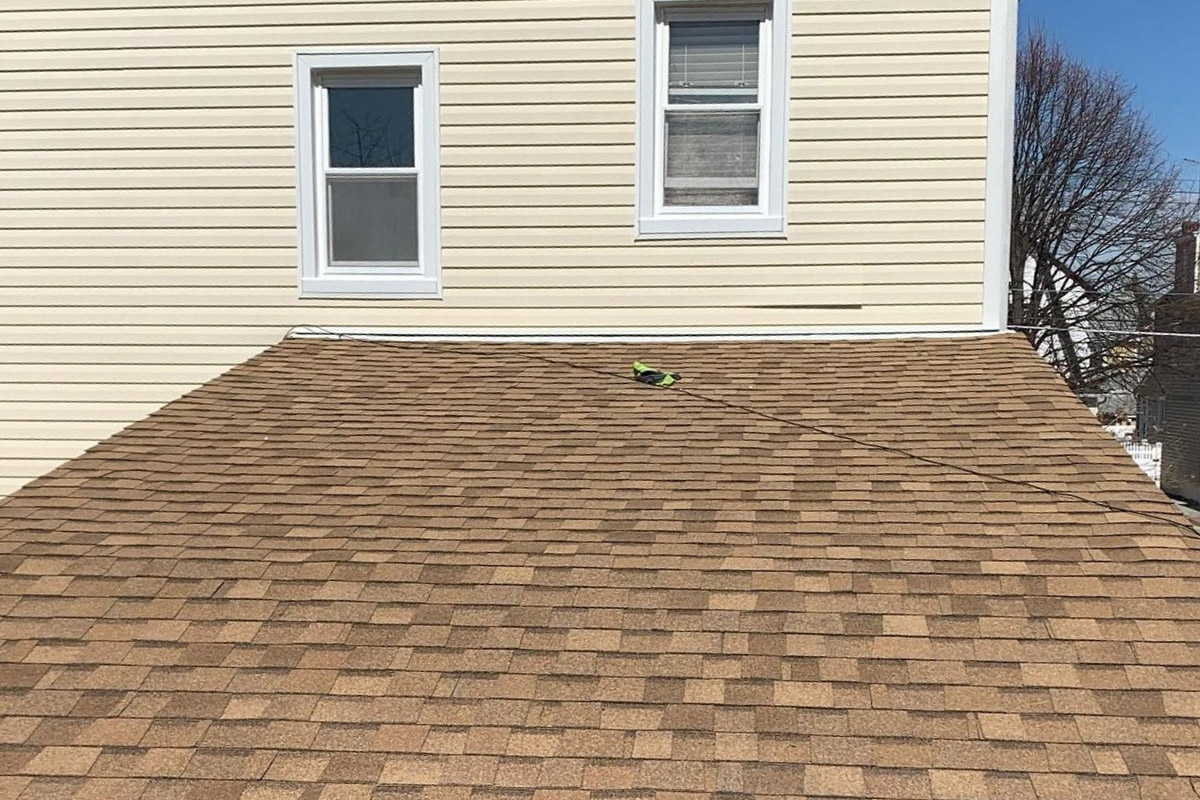
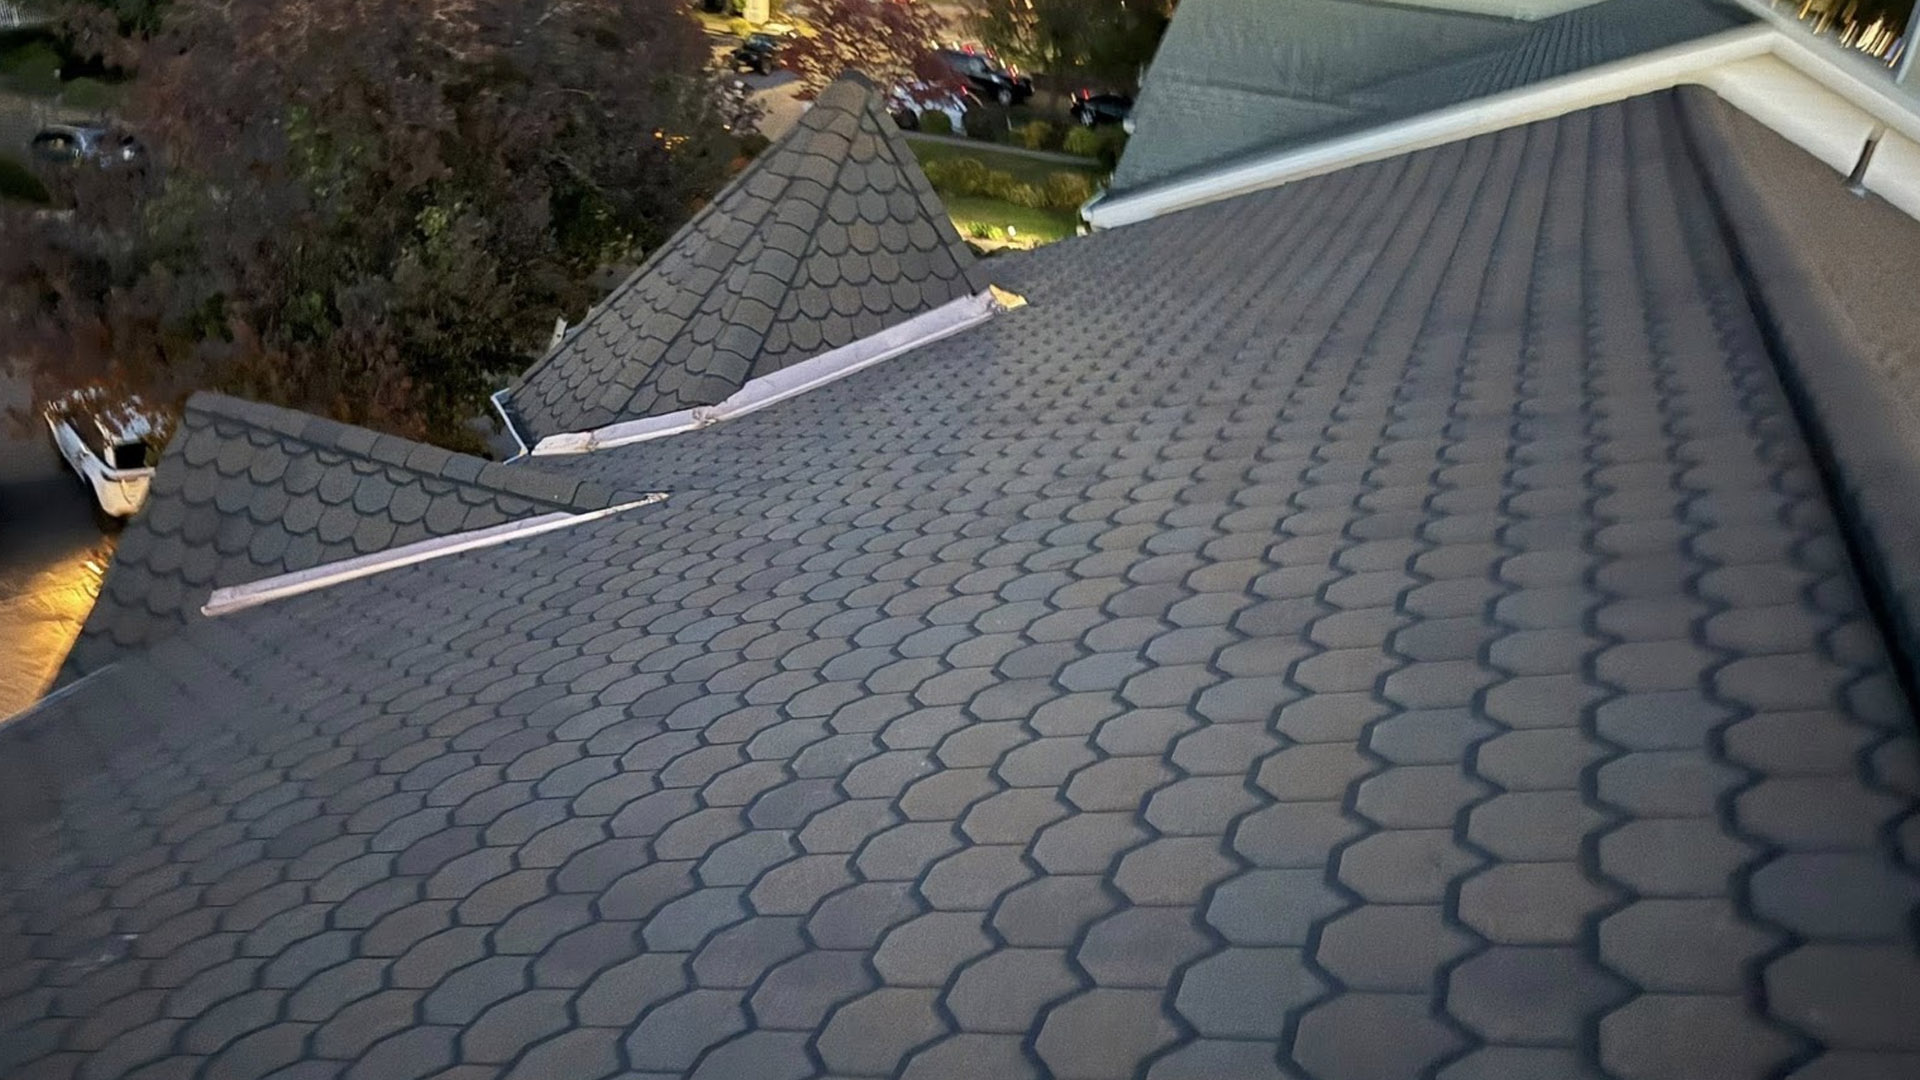
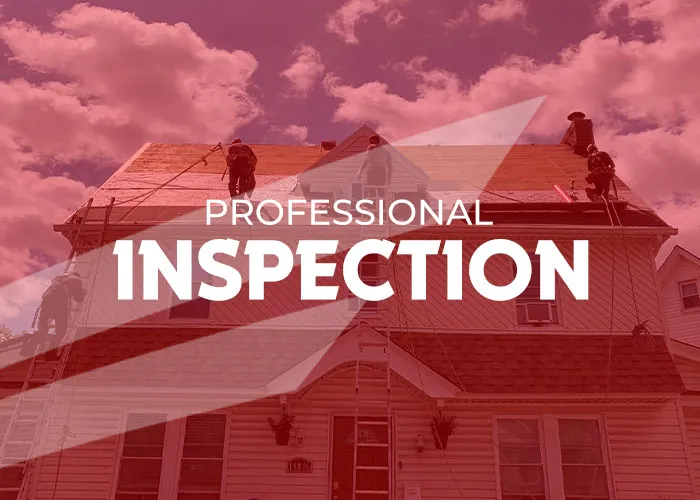
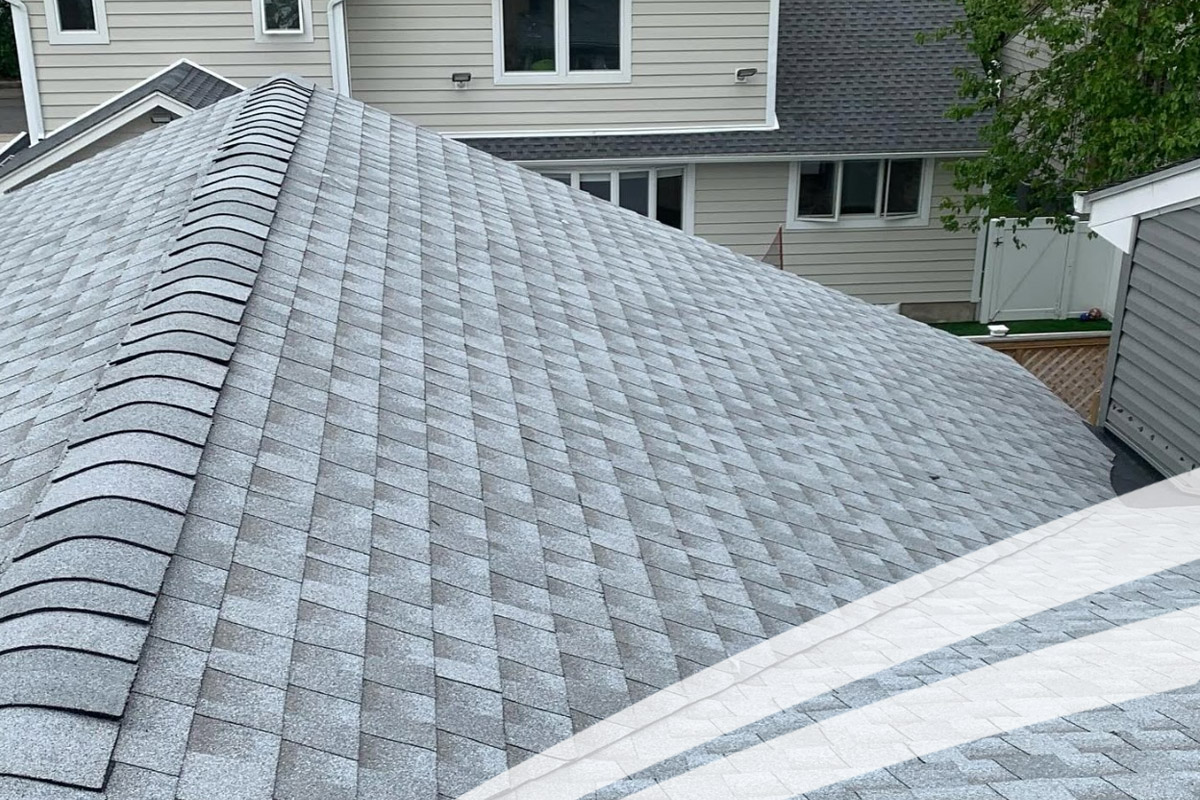
On the roof, a few tabs get lifted gently to check the seal strips, the nailing and how brittle the shingles have become. Granule loss and curling on the wind-facing slopes are common signs of age. The starter strip at the eaves and the drip edge at the rakes get checked too, since wind grabs the edges first on a raised home. Every spot is photographed so you see what we see.
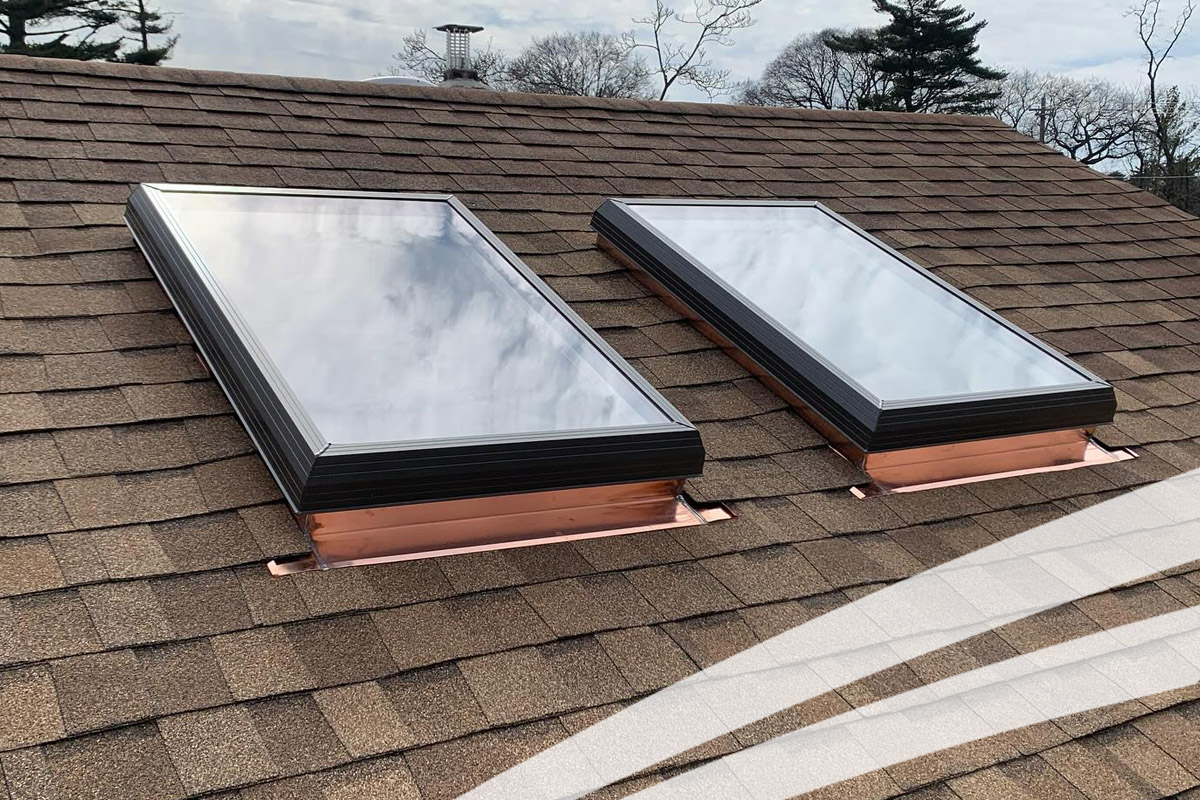
Next comes the step flashing at sidewalls, the chimney and dormer flashing, and the valleys. Then every penetration: pipe boots, exhaust vents, skylight curbs and satellite mounts. Rubber collars and sealant are often the first parts to wear out on a roof that has seen years of coastal sun and wind, and they cause many small leaks around plumbing vents. Each one gets resealed or replaced as needed.
You get an itemized written estimate that lists each repair, the material and the price, plus what we believe caused the problem: aging materials, weather exposure or an installation detail on your roof. If the roof is past saving, you hear that plainly, with photos to back it up. Roof Repair in Oceanside should never turn into a surprise bill, so nothing starts until you approve it.
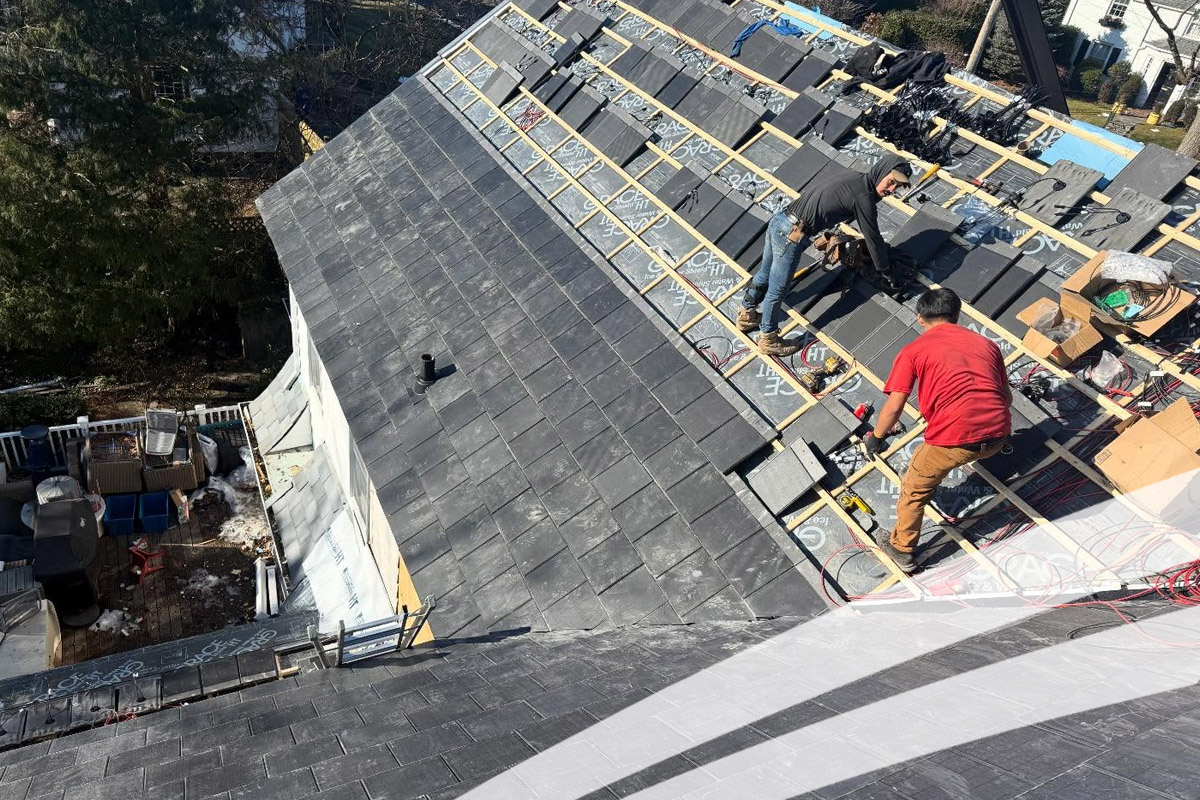
Rotted plywood comes out first and new sheathing goes in. Then ice and water shield goes into the valleys and eaves being repaired, new flashing is set with proper laps and each new shingle is nailed in the right zone for wind, with six nails where the maker calls for them. Ridge caps and roof edges get extra care, since that is where nor'easter gusts hit a raised roof hardest.
Last, we walk the job with you, show before and after photos and sweep the yard for nails. You keep the manufacturer plus workmanship warranty papers and a clear record of what was repaired. If anything looks off after the next big storm, one call brings the crew back to check. That record of Roof Repair in Oceanside also helps when you sell, since South Shore buyers often ask about roof work.