Roof Flashing Installation Explained: Why It Matters and How It’s Done Right
Roof flashing installation is one of the most important parts of a roofing system because flashing protects the places shingles cannot fully seal on their own. Chimneys, skylights, valleys, walls, plumbing vents, and roof edges all need flashing to move water away from vulnerable joints. When flashing is installed correctly, it helps prevent leaks for decades. When it is installed poorly, even a new roof can start leaking early. This guide explains where flashing is required, how roof flashing installation works, common mistakes, material choices, and how Aaron Roofing Corp handles flashing on Long Island roofing projects.
Quick Answer
Roof flashing installation uses metal pieces to waterproof roof transitions, penetrations, valleys, chimneys, skylights, and roof edges. Proper flashing must be installed in the right order with shingles, underlayment, and sealants so water drains away instead of entering the roof system.
What Is Roof Flashing
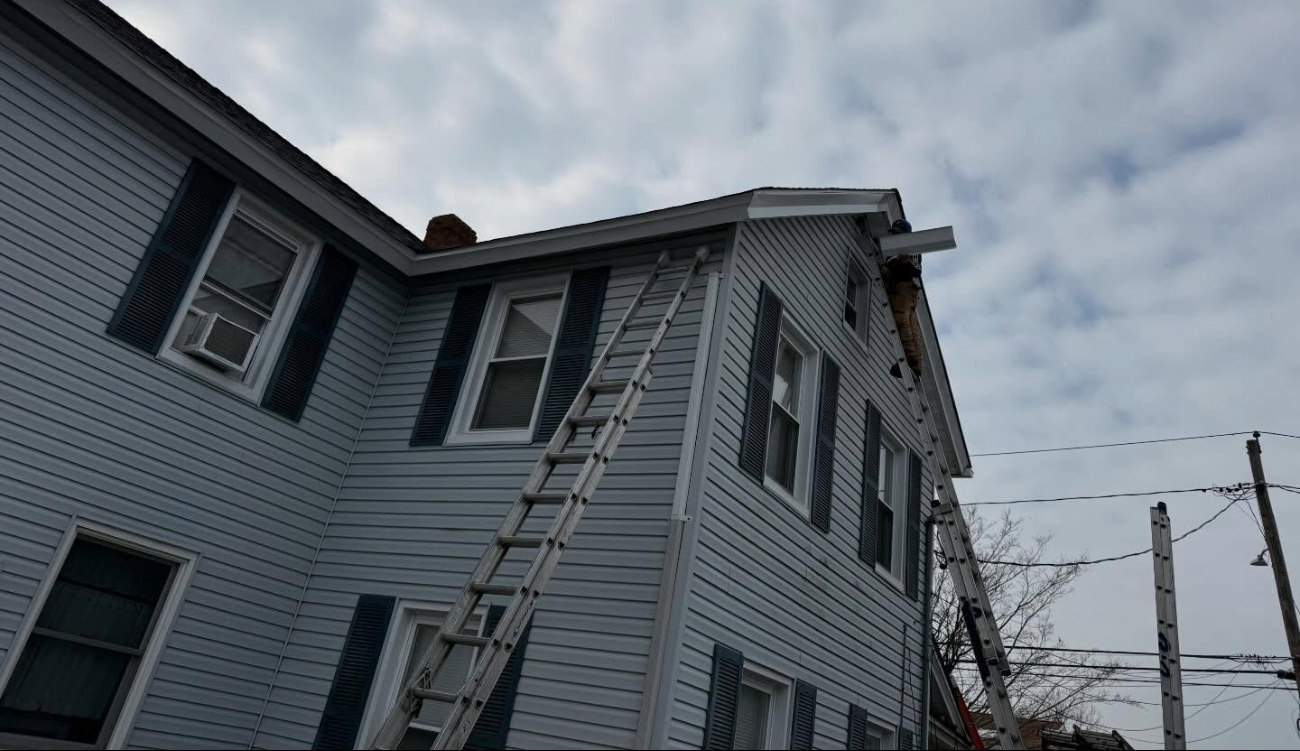
Roof flashing installation protects the areas where the roof surface is interrupted. Shingles shed water across open roof areas, but they cannot fully seal chimneys, vents, valleys, wall intersections, skylights, or the perimeter edge by themselves. Flashing bridges those weak points with metal designed to direct water back onto the roof surface.
On Long Island homes, flashing is especially important because roofs deal with rain, snow, wind, salt air in coastal communities, and winter freeze-thaw cycles. A roof may have strong shingles and still leak if flashing is missing, reused incorrectly, undersized, or installed in the wrong sequence.
Aaron Roofing Corp includes flashing evaluation as part of its roof repair services and full replacement inspections.
Where Roof Flashing Installation Is Required
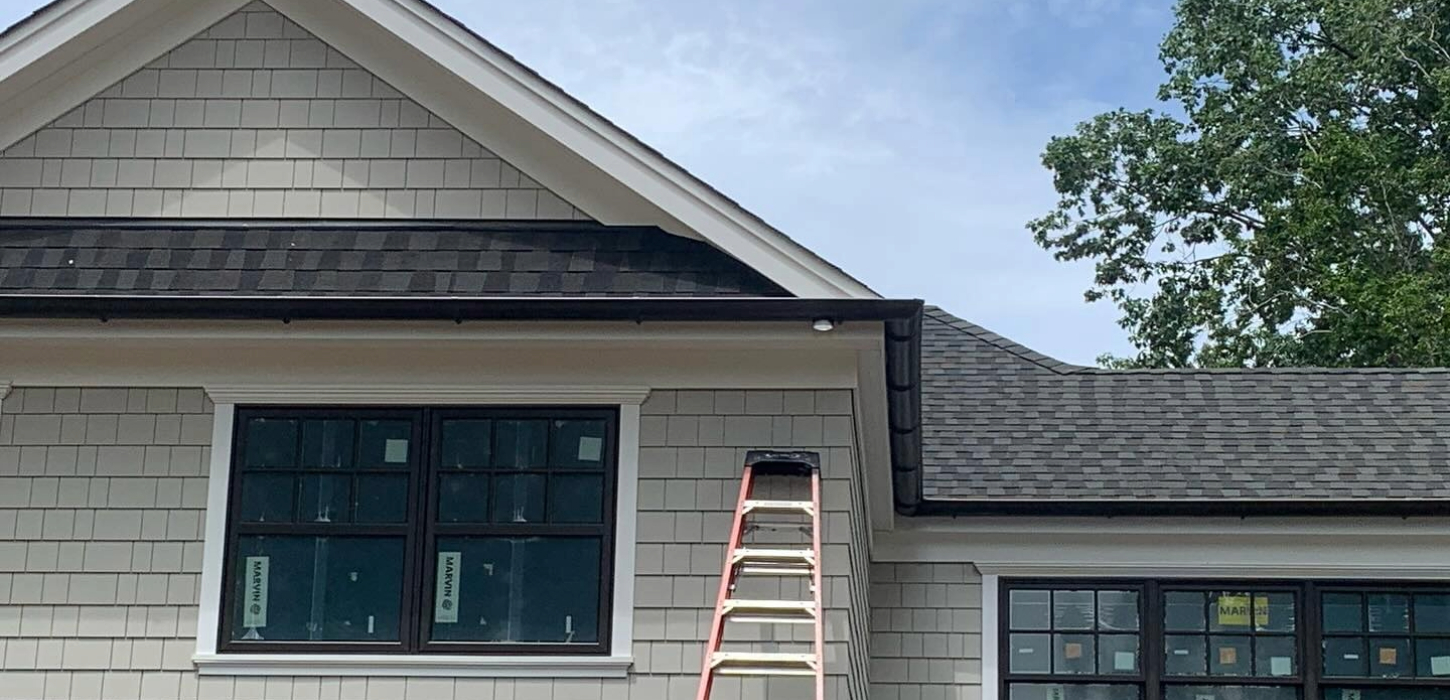
Roof flashing installation is required anywhere water needs extra control. Common locations include chimneys, skylights, plumbing vents, roof valleys, dormer walls, sidewalls, eaves, rakes, exhaust fans, and wide chimney backs that need a cricket or saddle.
Chimneys and valleys are two of the most important areas. Chimneys create a vertical wall in the middle of the roof surface. Valleys collect water from two roof planes and carry more runoff than the surrounding shingles. Both areas need correct flashing to prevent leaks.
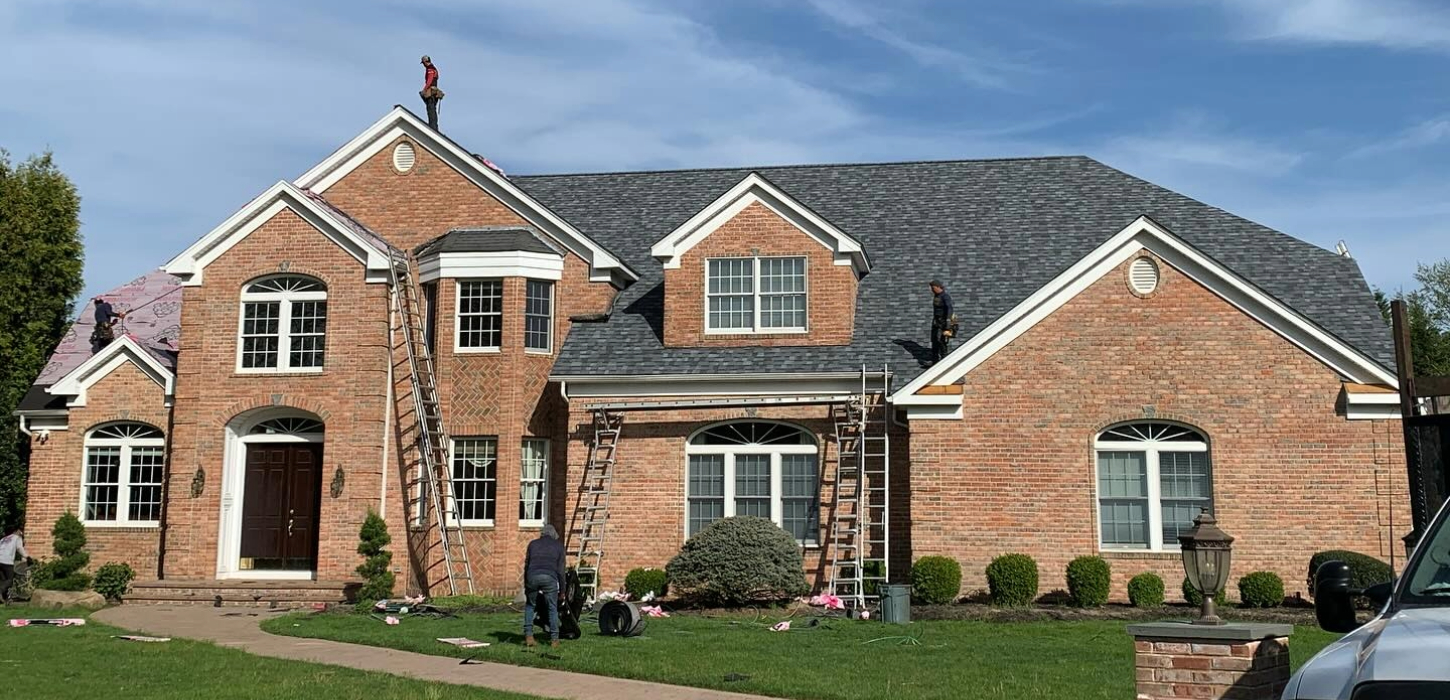
For new roofing projects, Aaron Roofing Corp’s roof replacement service includes inspection of flashing, underlayment, ventilation, decking, and related roof components.
Types of Roof Flashing
| Flashing Type | Location | Purpose |
|---|---|---|
| Step flashing | Chimney sides and walls | Protects vertical roof transitions course by course |
| Counter flashing | Chimneys and masonry | Covers step flashing and seals into masonry |
| Valley flashing | Roof valleys | Handles heavy water flow between roof planes |
| Pipe flashing | Plumbing vents | Seals around round roof penetrations |
| Drip edge | Eaves and rakes | Directs water off the roof edge and protects fascia |
| Cricket flashing | Behind wide chimneys | Diverts water around the chimney back side |
Roof Flashing Installation Process
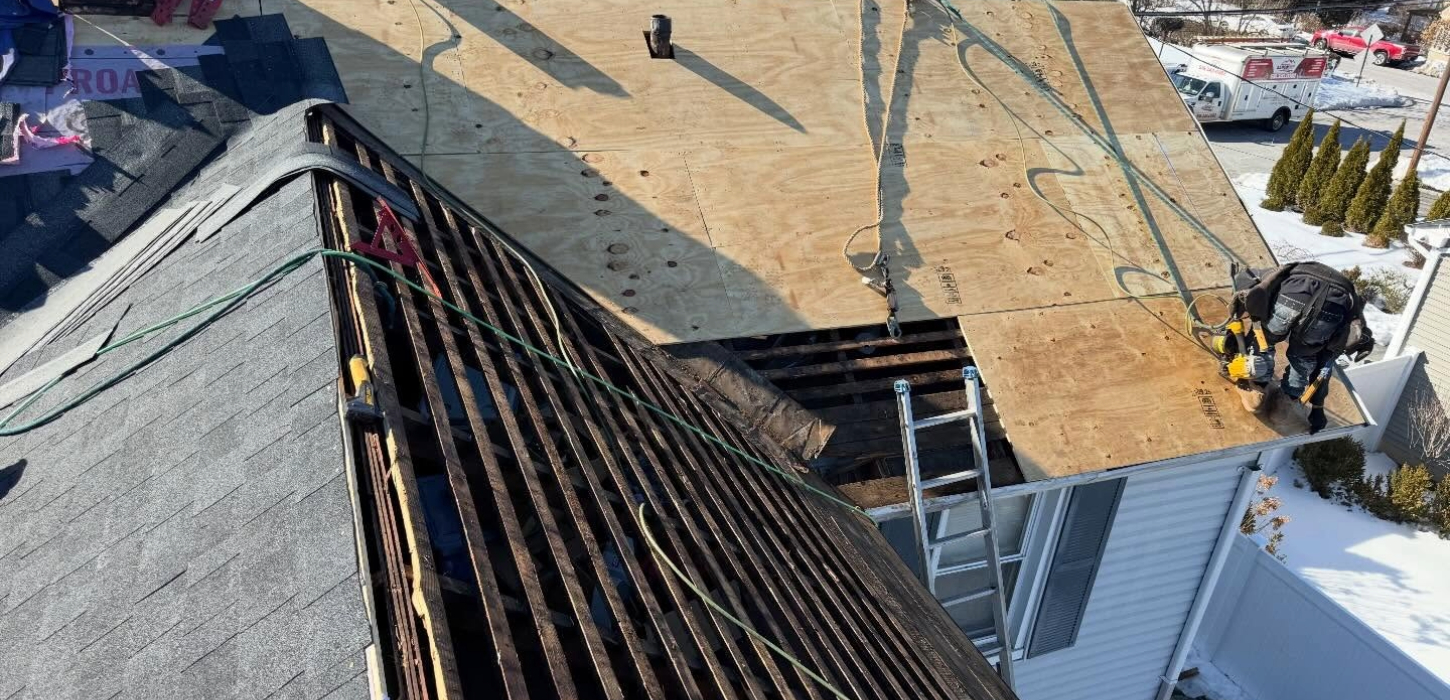
Roof flashing installation must follow the correct order. Drip edge is usually installed early at eaves and rakes. Underlayment and ice and water protection are then installed in vulnerable areas. Valley flashing is placed before shingles are installed in the valley area. Step flashing is woven with shingle courses along chimneys and walls.
Counter flashing is installed into masonry joints and overlaps step flashing. Pipe flashing is positioned so shingles above overlap the top of the flashing collar while shingles below sit under the lower portion. That overlap sequence matters because water must always flow over the next layer, never behind it.
The International Association of Certified Home Inspectors has a helpful roof flashing overview that explains how flashing helps protect roof penetrations and transitions.
Common Roof Flashing Installation Mistakes
Roof flashing installation fails when shortcuts are used. One common mistake is sealing over old flashing instead of replacing damaged material. Another is reusing step flashing during a full roof replacement when the old flashing is already worn. Incorrect overlap, undersized metal, missing crickets, and poor sealant choice can also create leaks.
- Reusing old flashing on a new roof without inspection
- Installing flashing in the wrong drainage order
- Using too little overlap between flashing pieces
- Skipping chimney cricket flashing behind wide chimneys
- Using household caulk instead of roofing-grade sealant
These problems may not show immediately. A roof can look finished from the ground while hidden flashing details are already weak.
Best Flashing Materials for Long Island Homes
Roof flashing installation material choices include galvanized steel, aluminum, copper, stainless steel, and lead-coated copper. Galvanized steel is common and economical. Aluminum resists corrosion in many applications. Copper costs more but can last much longer. Stainless steel is a strong option for coastal exposure.
The best material depends on the roof type, budget, chimney condition, exposure, and desired lifespan. In coastal areas, corrosion resistance becomes more important because salt air can shorten the life of lower-grade metal.
New Roof vs. Existing Flashing
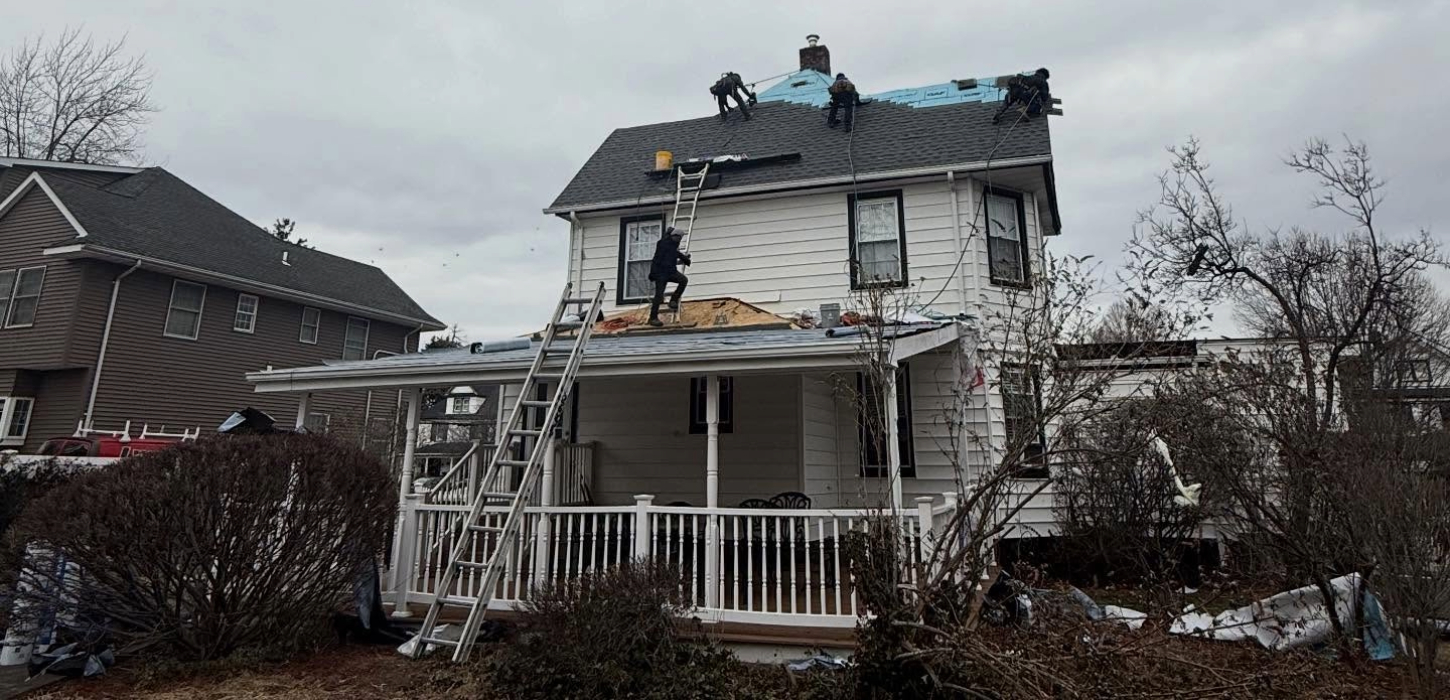
During a full roof replacement, most flashing should be replaced. Step flashing, base flashing, pipe flashing, valley flashing, and drip edge should usually be new. Reusing worn flashing introduces an old weak point into a new roofing system.
Counter flashing embedded in solid masonry may sometimes be reused if it is in good condition. However, if mortar is deteriorated, counter flashing is loose, or sealant has been layered over past leaks, replacement is often the better choice.
Homeowners can request an inspection through the Aaron Roofing Corp contact page to review existing flashing before repair or replacement.
Frequently Asked Questions
Does roof flashing need to be replaced with new shingles?
Most flashing should be replaced during a full roof replacement, especially step flashing, valley flashing, pipe flashing, and drip edge.
What causes roof flashing to fail early?
Early failure can come from poor installation, wrong overlap, undersized metal, sealant shortcuts, freeze-thaw movement, or corrosion.
How much does roof flashing installation cost?
Cost depends on location, material, roof access, and whether shingles or masonry work are needed. A free inspection is the best way to price the scope.
How long does roof flashing last?
Galvanized steel may last 15 to 25 years, while copper can last 50 years or more when installed correctly.
Can roof flashing be installed in cold weather?
Metal flashing can be installed in cold weather, but sealants must be rated for the temperature conditions during installation.
Conclusion
Roof flashing installation is one of the details that determines whether a roof stays watertight over time. Correct material, overlap, order of installation, and integration with shingles and underlayment all matter.
Aaron Roofing Corp serves Suffolk and Nassau County homeowners with roof repair, roof replacement, flashing work, flat roofing, siding, gutters, and free inspections. To schedule your flashing inspection, visit the Aaron Roofing Corp contact page or call 516-343-0382.